Information and guidelines for a smooth workflow
![]() Start
Start ![]() Pro
Pro
For an even faster workflow with IronCAD and Para-Flex, some basic information is very helpful. The toggles below contain guidelines to master the software and speed up the entire process from design to production. Specific tips for getting the most out of the CAM features can be found here.
One IronCAD session at a time
The add-in Para-Flex is designed to work with a single session of IronCAD.
Certain functions (e.g. updating Sizebox information) stop working when opening multiple IronCAD sessions at once. The connection to Para-Flex breaks.
The Para-Flex Pro-license connects to the first opened session of IronCAD/Para-Flex. When starting a second session, Para-Flex Start will show, instead of Para-Flex Pro. The add-in stops running properly since it’s not clear to which session it should connect.
Dividing the model into assemblies
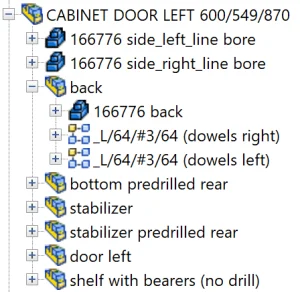
We advise to divide models into assemblies for a better overview and faster processing in IronCAD. E.g. when dowels need to be drilled into a panel, put the respective dowels and panel together into one assembly. An additional advantage of grouping them is that the dowels can easily be calculated according to a pattern that relies on the panel size.
The use of smart panels (For Pro/CAM users)
For users of Para-Flex Pro and higher it’s recommended to use parts modeled using so called ‘Smart Panels’. This gives possibilities for automatic CNC-programming and visual appearance of materials.
Parts based on Smart panels behave like normal blocks in IronCAD, but are enhanced with additional intelligence. For example, the thickness and textures of Smart Panels can be controlled by Para-Flex, bottom and top sides are recognized, and sides for edge finishing are visually displayed in IronCAD. Compared to standard Parts/IntelliShapes, the Smart panels also offer capabilities for automatic CNC programming, such as CNC reference side and linking predefined milling tools.
Panels used in the catalogs provided by Dynfos are build up from smart panels.
More information for a good CAM workflow can be found here.
Origin of a panel and recognizing edges
Every 3D-shape in IronCAD has a direction of extrusion. In case of a panel, think about the basic Cross Section (often a rectangular shape) extruded in a straight direction to create the material with the correct thickness. IronCAD indicates the direction of extrusion by a blue arrow, by default, starting at one of the corners of the Cross Section (or Contour).
![]()
The exact position of the arrow doesn’t matter for the results of the CNC program, but its starting point indicates the origin (0, 0, 0) of the panel. Based on that origin the labeling of the edges (L1, L2, W1 and W2) is done. When the object is shown as in the images above and below (extrusion arrow is pointing downwards), the edge to the right of the arrow is labeled L1. The rest of the edges is labeled clockwise starting from L1: W1, L2, and W2.
![]()
Standard cabinets
For materials from the catalogs supplied as standard by Dynfos, L1 is set as the CNC reference edge. Cabinets from one of these catalogs are modeled such that edge L1 forms the front of the panel and by default, this side is fitted with edge banding.
Note
Para-Flex can operate up to 4 sides per panel. Controll over more sides will be added in the future. If this is already a desired option for you, please contact us.
Extrude direction arrow
![]() As mentioned in the item above, the extrusion arrow determines the origin of parts. The direction of this pointer affects a number of things, for instance changing the thickness and the boards bottom or top side.
As mentioned in the item above, the extrusion arrow determines the origin of parts. The direction of this pointer affects a number of things, for instance changing the thickness and the boards bottom or top side.
Material thickness
When changing the thickness of a panel by selecting a new material, the origin stays at the same position. Given this fact, the panel thickness will increase or decrease in a predictable way.
Top or bottom of panel
The direction of the extrusion arrow determines the top or bottom of a panel, which can relevant for CNC machining. When a panel is only being contoured, the arrow points towards the bottom of the panel, also the machine bed, as the top of the panel is pointing towards the cutter head. See CAM Guidelines for more information about this.
Standard cabinets
When increasing the material thickness of a standard cabinet, panels will grow towards the outside of the model, because in these models the extrusion arrow is directed outside. This way internal items, like shelf supports or drawers, will stay at the right position, connected to the side panels. The cabinet can be easily adjusted to the desired dimensions using the Stretch tool.
Tip: Switch type of Edit handles
The handles of an IntelliShape normally are set to so called Sizebox handles. This method resizes the complete shape without taking into account the aspect ratio of the shape. Certain elements in the Cross Section are lockable by applying constraints, but often a faster method is switching to Contour handles. Using Contour Handles the Cross Section of a shape can be edited directly on the edges, without affecting other parts of the shape. When having an IntelliShape selected, hotkey TAB can be used to switch between the handle methods.

Tip: Exclude parts from BOM and Para-Flex
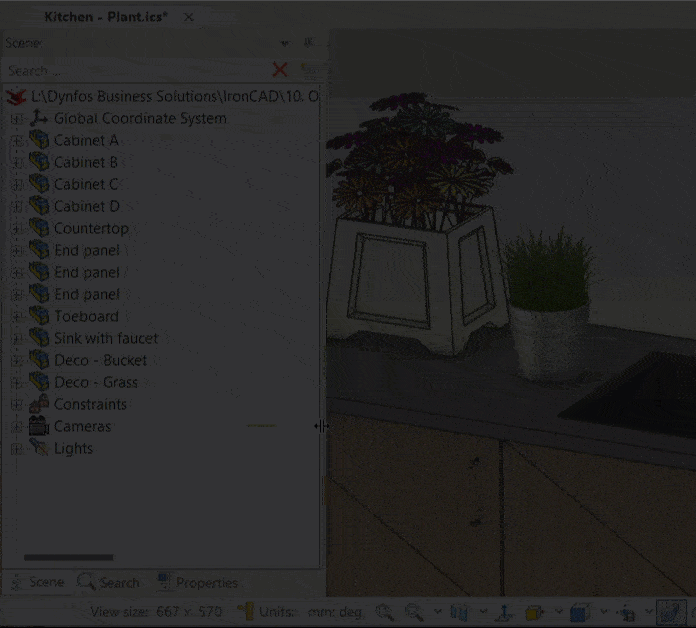
Parts with Include this shape in BOM switched off in their properties in IronCAD, will not only be excluded from the Bill of Materials, but also ignored by Para-Flex. This is practical for cleaning up your working list and puts less strain on the system. Examples of items not to be handled by Para-Flex are building structures or item for decoration.
After changing this setting for an item, refresh Para-Flex using the button in the upper left corner. This ensures that the underlying parts (for example, in an Assembly) remain synchronized with IronCAD.