Configuration guide
Step-by-step guide to configuring Para-Flex
Follow the instructions below to properly configure Para-Flex. With this guide you’ll quickly find your way around the software. Get off to a great start and make the most of everything Para-Flex has to offer.
Not applicable to users in The Netherlands; differs from international version.
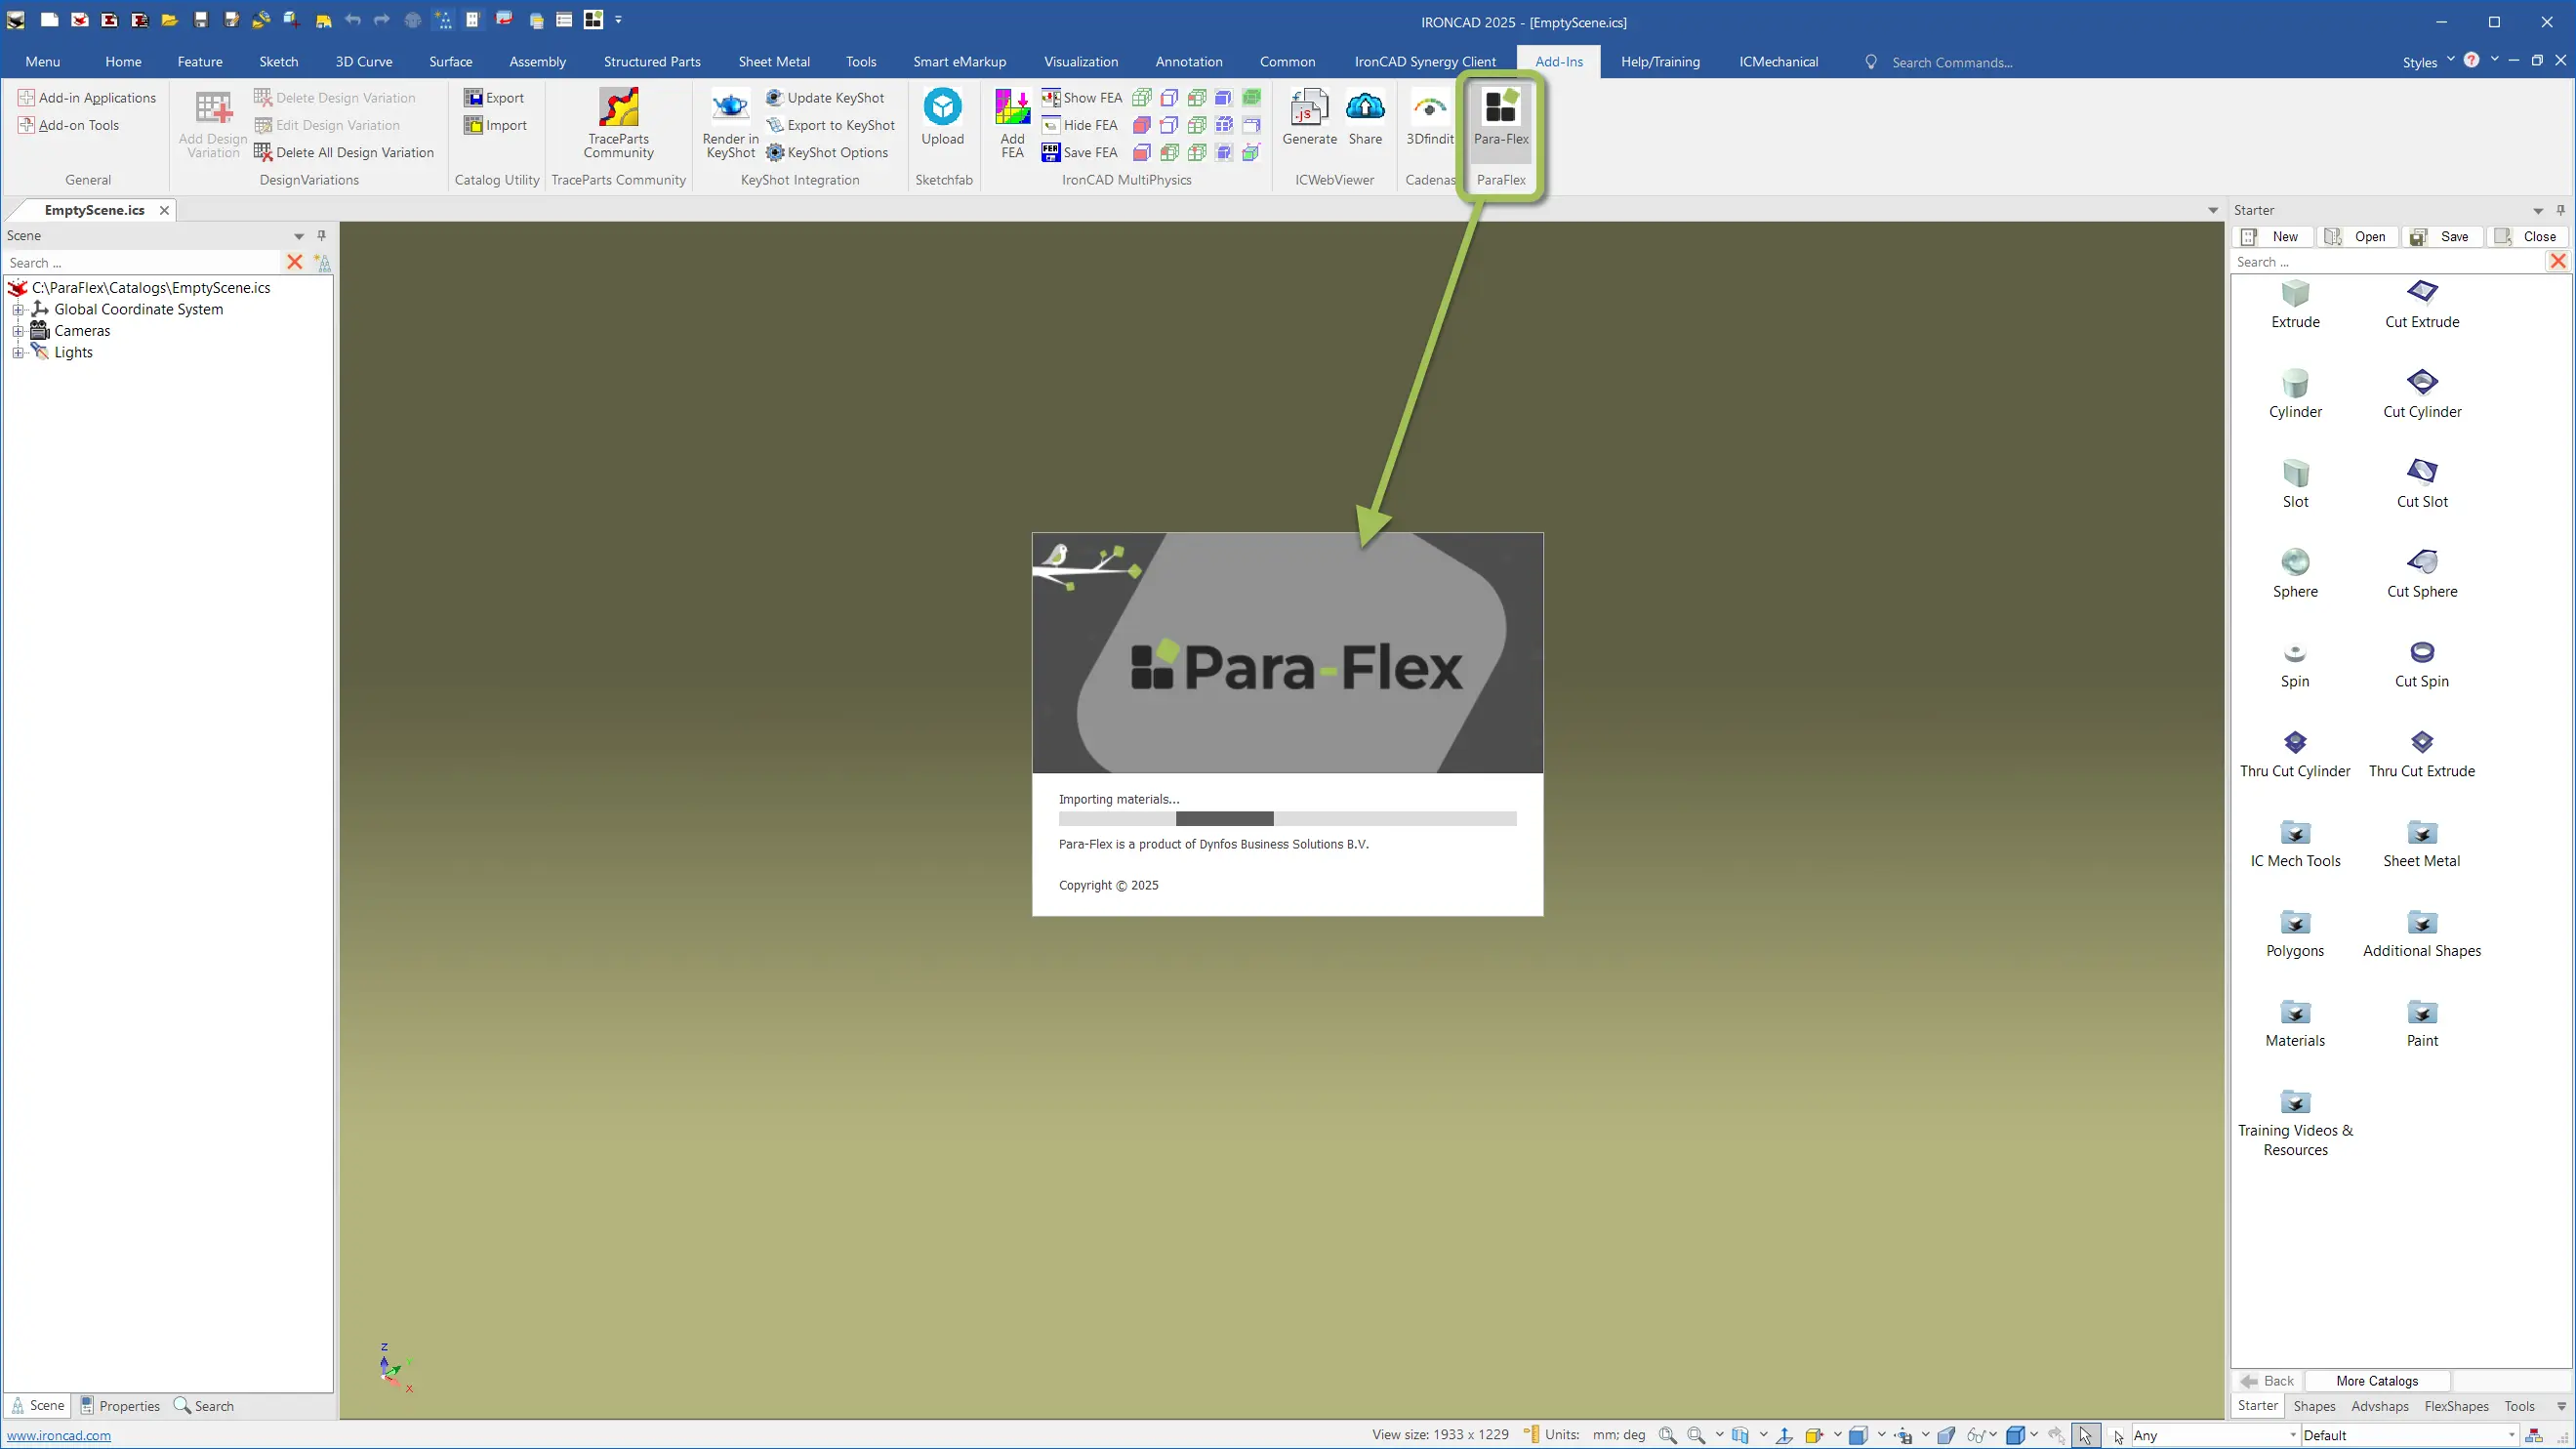
- 1 - Start screen
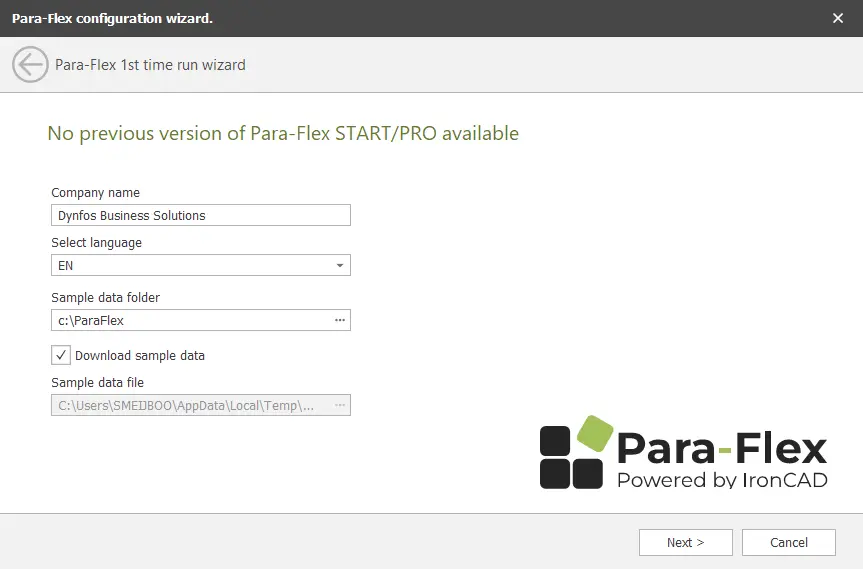
- 2 - Language selection
- 3 - Download data
- 4 - Download data
- 5 - Start IronCAD
- 6 - Start IronCAD
- 7 - Activate
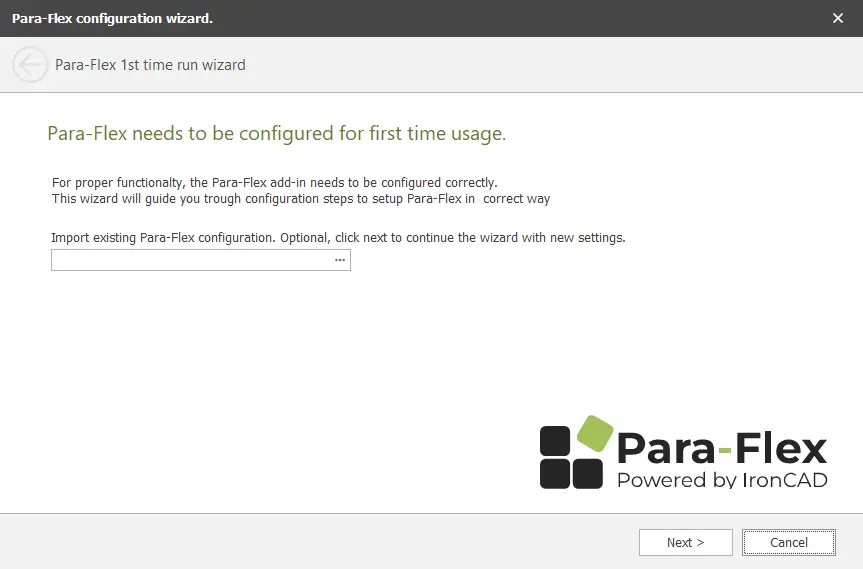
When installing Para-Flex, the window below will open. Click on ‘Next’.
Choose the desired language at ‘Select language’ and click ‘Next’.
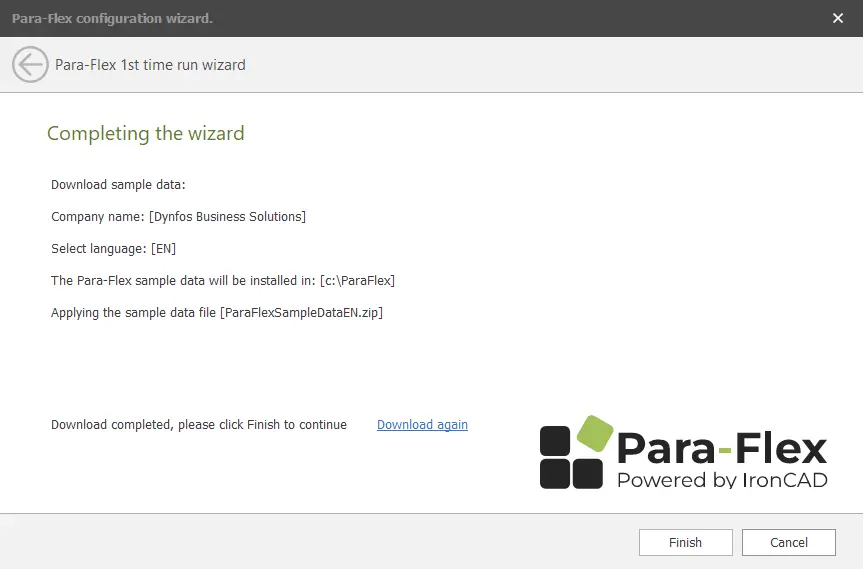
Sample data is now being downloaded. Please wait for completion.

Sample data will be installed. Click ‘Finish’
Continue to let IronCAD start up and open emtyScene 3D file from C:\Para-Flex\Catalogs (Or location as self specified in wizard)

Go to the Common menu bar and click Catalog Set, select Para-flex, click Open and then Done.

From then on, Para-Flex is fully usable by clicking the Para-Flex button on the Add-Ins menu bar.